Showing posts with label Recipes. Show all posts

November 9, 2011

Playdate Granola Bars


The kids have some friends over to play once a week, and last week I was in the mood to make these granola bars for a snack for all the kids. I love this recipe because it is so flexible. You can use any combination of dry ingredients to make them different every time if you want to. Making these granola bars is a great way to clear out all those little bits of stuff left in the pantry that you don't have enough of to make anything else with. I had a little bit of coconut left in a bag, and some sunflower seeds, so I threw them in with some oats and rice crispies. I didn't have vanilla, but they tasted just as good as they did when I made them with vanilla before. Here's the recipe:

Granola Bars

 Oats or cereal combined with your choice of other dry ingredients such as wheat germ, sunflower seeds, crushed peanuts, dried fruit, etc. to equal 4 1/2 cups.
2/3 cup brown sugar
1/2 cup honey
4 T. butter or peanut butter
2 tsp. vanilla (optional)
1/4 to 1/2 tsp. salt*

*If your butter or peanut butter is salted, 1/2 tsp. salt may be too much.

 Mix dry ingredients in a large bowl and set aside. Cook the sugar, honey, butter or peanut butter and salt together until it comes to a simmer. Remove from heat and stir in vanilla. Mix with dry ingredients and press into a wax paper coated 9 by 13 inch baking dish. Let cool completely... putting them in the fridge so that they're very cold when you cut them works well. Turn them out onto a cutting board. Remove the wax paper and cut them into bars.

My kids love these, and it's no wonder because they are very sweet... great for a snack or even dessert!


November 2, 2011

Pumpkin Curry Soup

All washed and ready to be made into soup.
Our next door neighbors are a really nice older German couple that have a beautiful garden. They gave us buckets full of apples this fall, and one day, the husband brought this lovely pumpkin to us. The husband may very well be Santa Claus. He has a beard, a twinkle in his eye, and he's one of the nicest people I've ever met. He doesn't speak any English, but with his friendly determination to communicate, and my very, very basic German skills, I came to understand that this Kürbis (pumpkin) was from his garden and it was the kind that's good for eating, not carving. And so, I decided that I would use this pumpkin for soup to take to our ward Halloween party. I had made this soup earlier and loved it, so I was excited to make it again. This pumpkin was the perfect size for a double batch of the soup. Here's the recipe.

Pumpkin Curry Soup
(4 to 6 servings)
2 T. butter
1 cup chopped onion
2 cloves garlic, minced
2 tsp. curry powder
1/2 tsp. salt
1/2 tsp. pepper
2 cups pumpkin puree (or 1 15 oz. can)*
3 cups vegetable or chicken broth**
1 1/2 cups evaporated milk (1 12 oz. can)

*I like to add a little more pumpkin to make it thicker.
**I've just used water before and it's still yummy. Just add more salt and seasonings.

In a large pot, saute the onion and garlic in butter. Add the curry powder, salt and pepper. Then add pumpkin puree and broth. Simmer. Puree in blender to make a smooth soup. Add evaporated milk just before serving.


For the party, I cooked the soup on the stove, blended it in batches, and put it in the crockpot on low to stay warm until the party. Now, just as a warning, getting this soup to the party in the crockpot was quite the adventure. I held it on my lap on a baking sheet on top of my jacket while hub drove. The crockpot wasn't even very full, but every little bump made soup slosh all over the place because it's not a very thick soup. If I ever take this soup anywhere again, I'll use a sealed container. By the time we got to the church, my jacket was out of commission for the night.

In my opinion, a bowl of this warm, spicy soup with some bread to dip in it, is the perfect meal on a cold day. I'm sure I'll be making this soup many more times this fall and winter because it's so easy.

August 24, 2011

Kimchi

 I love kimchi.

The first time a tried it, I didn't like it, but while we were living in Korea, it grew on me, and now it is one of my favorite things to eat. It's just really refreshing. And it has a lot of health benefits too. If you've never tried it, or have tried it and didn't like it, don't give up on it. You may just become a kimchi addict some day. And if you make it yourself, you can keep adjusting the recipe until you get it just right. Of course, there are a lot of other great foods out there, so I'll stop trying to pressure you into eating kimchi. I just had to put a plug in for it since I've got an entire post here about how to make it. :) 

I was so happy when my friend at church, who is Korean, asked me if I wanted her to teach me how to make kimchi. I told her that I most definitely did, so she brought all the ingredients over one morning and we made a big batch of kimchi, which hub and I ate within a week. I guess we'd been kimchi deprived for too long.  It's hard to find good store-bought kimchi around here. It was actually not that hard to make. I made another batch the next week and took step-by-step photos. So, just in case anybody else out there happens to want to make some kimchi, here's how to do it.

*Keep in mind, this is not an exact recipe. I can't tell you the exact amounts of everything... it's just all to taste. And everybody's kimchi tastes a little different and may have some different ingredients.
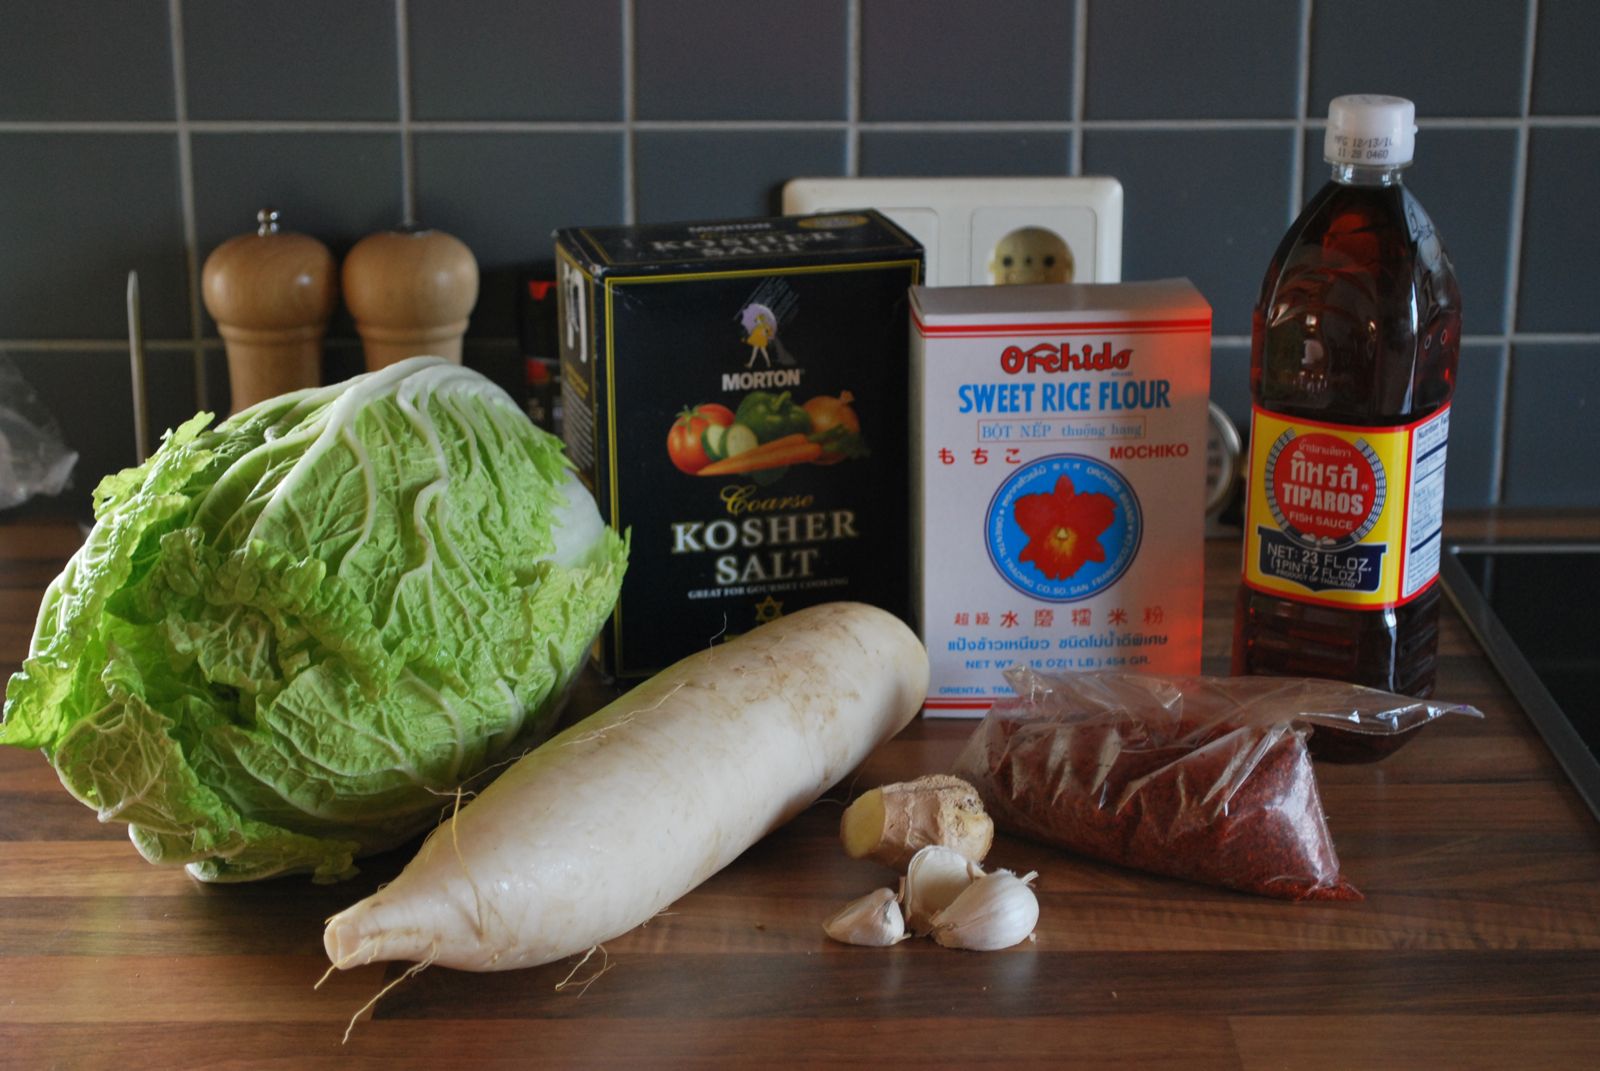
 The ingredients:

1 Napa Cabbage
1 Asian Radish (optional)
About 2 T. grated Ginger
A few cloves of Garlic
Hot Pepper Flakes
Kosher Salt
Sweet Rice Flour
Fish Sauce (or Soy Sauce)
not pictured:
Onion (white, green or both)
You can also add carrots, leeks or other veggies if you want.

You will also need one very large bowl, one medium bowl, a small saucepan, a cutting board, a knife, something to grate ginger with, and an airtight container that you don't mind not be able to use for anything other than kimchi ever again.

 This is what the hot pepper flakes look like. You probably won't find them in your regular grocery store. If you live in or near a bigger city, try to find an Asian grocery store, or even better, a Korean store. You will probably find the pepper flakes there. I haven't had to buy any yet because my friend gave me enough to make a few batches of Kimchi, but she told me that after you buy it, keep it in the freezer or it will go bad soon.

 After you have washed and chopped your cabbage, sprinkle salt all over it. Mix it up with your hands to make sure that all the cabbage leaves have salt on them. Don't worry about using too much salt... you are going to be rinsing it off later. Let it sit in the salt for about 1 - 2 hours, until you can bend a thick cabbage leaf in half without it breaking. I've also read that before you do this step you can soak the chopped cabbage in cold water for awhile and it will help speed up this process. Just be sure to drain it before you add the salt.

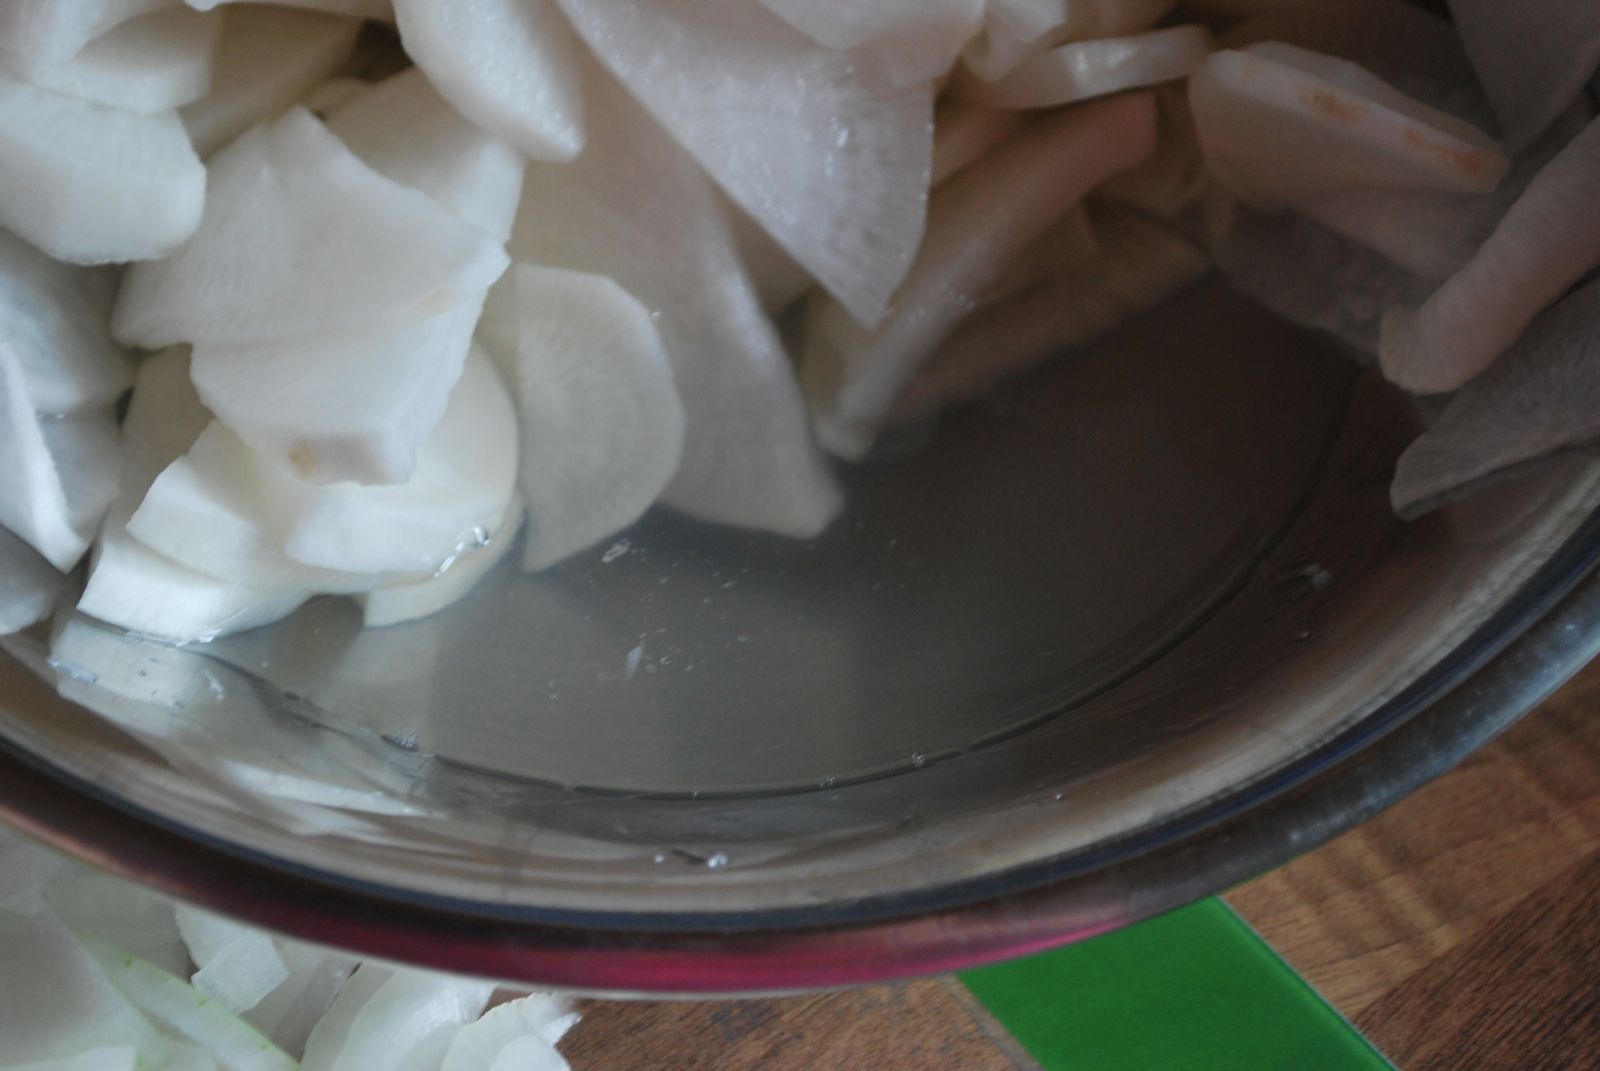
 Chop your radish however you want to, just keep in mind that the thinner the pieces, the quicker they'll be ready to work with. Thin strips would wilt faster than these half circles. Now add some salt and sugar to your radish. You won't be rinsing them off, so you want to be a little more careful with how much you use in this step. You want to create a flavor that's salty and sweet, but not too salty or too sweet. You are going to use the salty/sweet water that is drawn out of the radish in your spicy sauce. Let the radish sit for about as long as the cabbage, until the radish is flexible and you have some water at the bottom of the bowl.

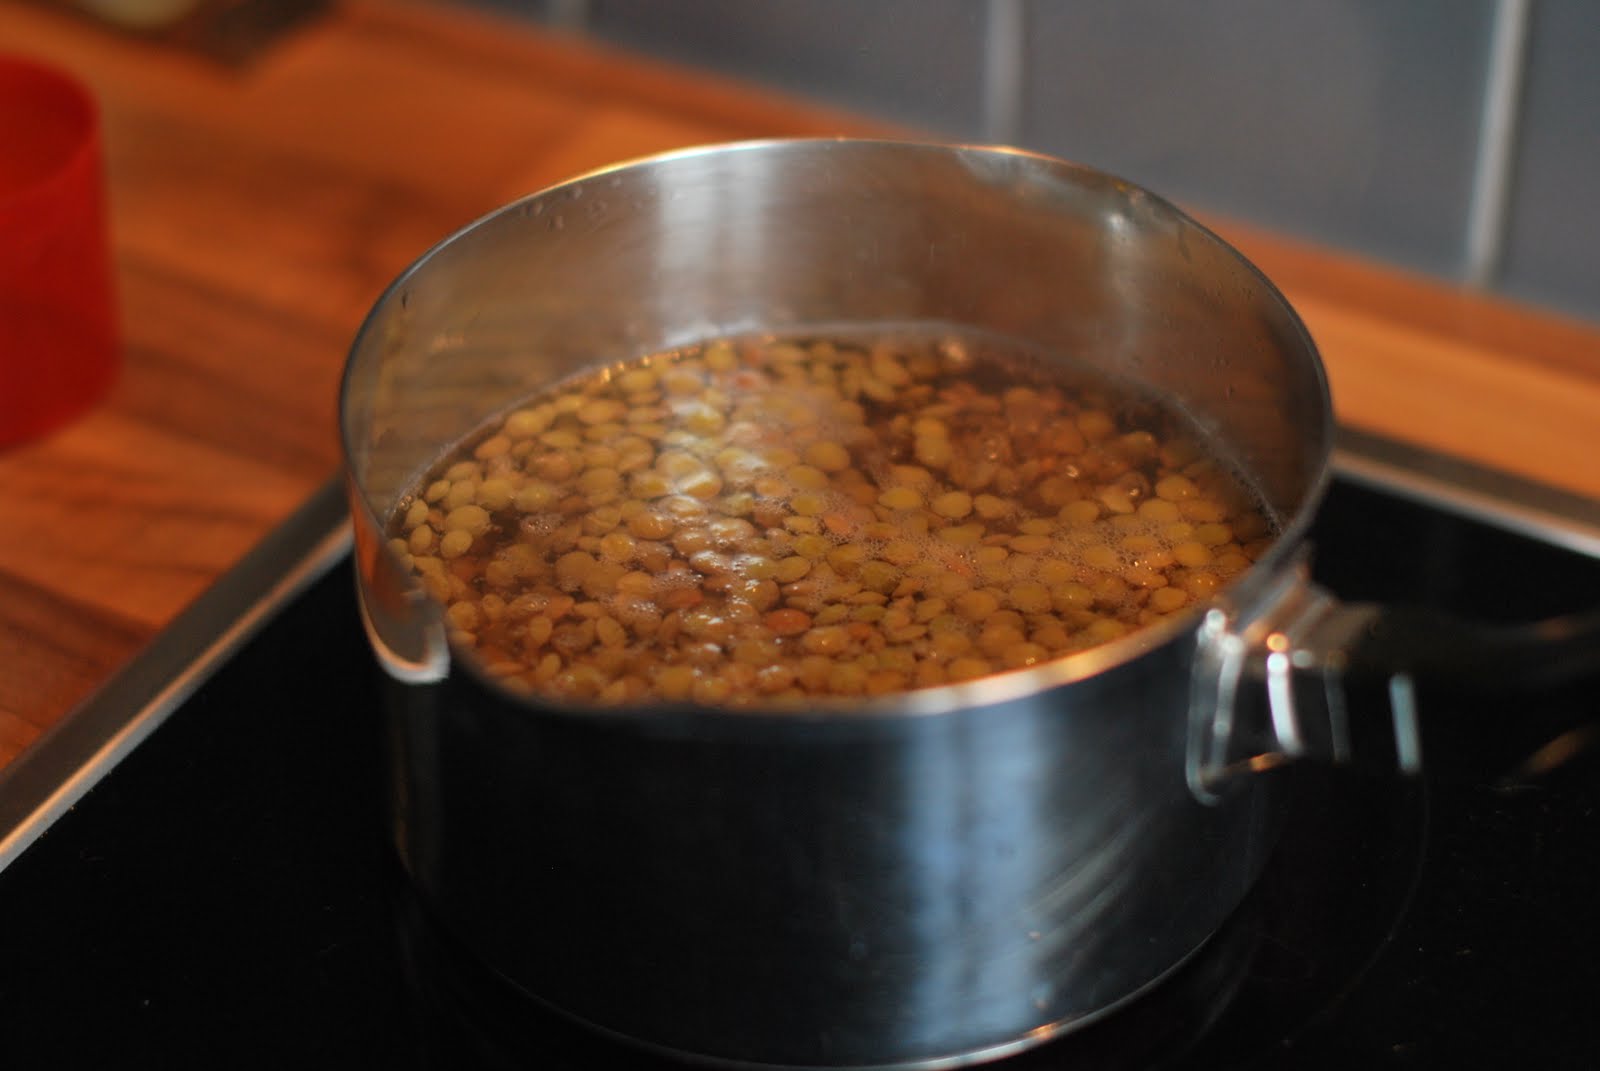
 Now make your sauce.
Put 1 1/2 cups water into a saucepan and whisk in 1/4 cup Sweet Rice Flour. Cook until thickened to pudding consistency. If you want a little more sweetness, you can also add some sugar or honey to it. Then just let it sit and cool, whisking occasionally to keep a film from forming on top.

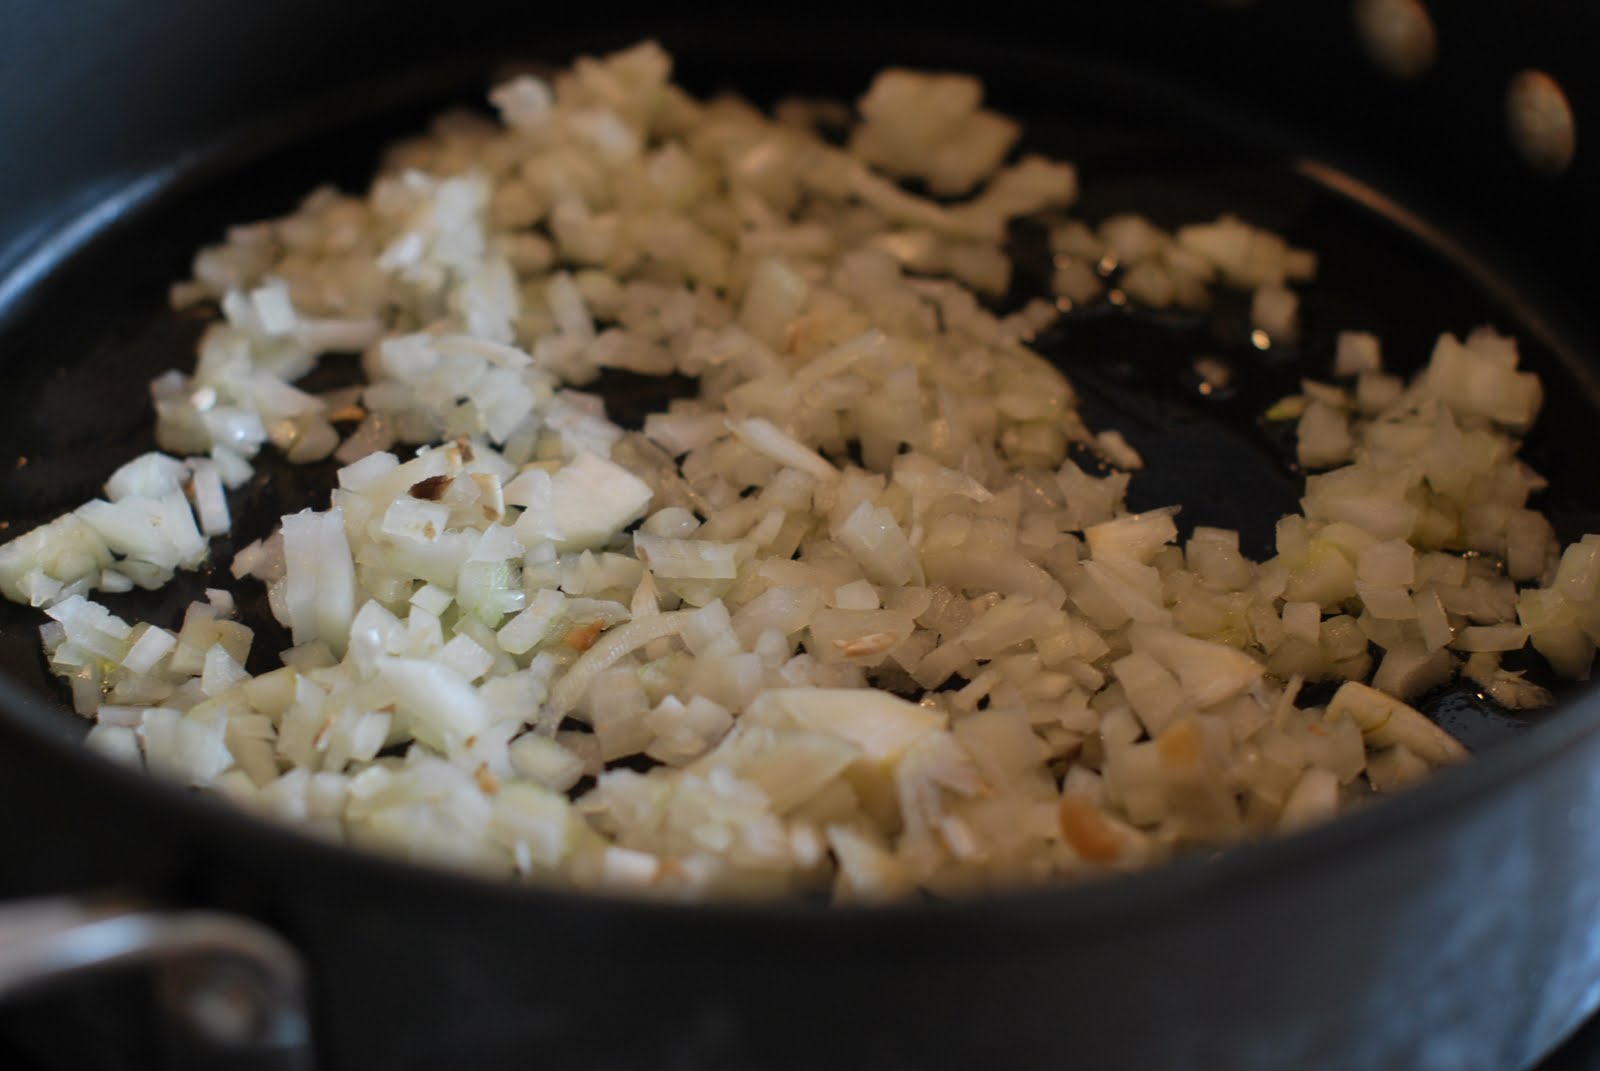
 While your sauce cools, and your cabbage and radish wilt, grate your ginger (my friend has this handy little Japanese ginger grater, that made it so easy... I want one), mince your garlic, and chop your onion (and other veggies if you are using them).

 Once the cabbage is nice and flexible, rinse the salt off. Taste it to see it if tastes too salty to you or not.

 See the nice sweet and salty water at the bottom of the bowl?
 Once your radish is bendable, and your rice flour sauce is cool, add this sweet/salty water to the rice flour sauce. Again, it doesn't really matter how much. Just hold the radishes back, and dump the water in.

 Also mix the ginger, garlic, and onion (and other veggies), and fish sauce or soy sauce into the sauce. For the fish sauce or soy sauce, you really don't need very much. Maybe a couple tablespoons, but you can adjust it to taste. I don't like a fishy flavor, so I don't add much fish sauce. If you're really sensitive to fishy flavors or want to make it vegan, use soy sauce.

 Now for those hot pepper flakes.
 You want to add enough to make the sauce a nice rich red color. But, the more you add, the more spicy it will be, so of course this step is not exact. Just add a tablespoonful at a time until it is nice and red, and then add more if you want it really, really spicy.

Now for the final step. 
Mix the cabbage and radish together and then dump the sauce over it. Mix it with your hands until the cabbage and radish are all well coated with sauce. My friend told me that it is a good idea to wear gloves to do this mixing because your hands might burn later if you don't. I haven't used gloves because I don't have any, and so far I haven't had a problem with burning hands. Maybe because I don't make mine super spicy.

Put the Kimchi into an airtight container and leave it out for several hours or up to a few days to get the fermentation process going, then store it in the fridge. If you'd rather have it fresh (I like it both ways), just put it in the fridge immediately. Either way, as long as you keep it in an airtight container, it should last for weeks in the fridge. Oh, and just so you know, whatever container you use will forever be your kimchi container because it will forever smell like kimchi... forever. I use a large Ziploc plastic container and haven't had any problems with my entire fridge smelling like kimchi, which is also a good thing to try to avoid.

Happy kimchi eating!

May 4, 2011

Edible Nests

Here is one more birds' nest activity, and this time it's edible. I got this idea from Discover the Joy of Easter, and tweaked the recipe a little bit. 

Crispy Nests
1 cup chocolate, butterscotch, or peanut butter chips
1/2 cup peanut butter or Nutella
3 cups crispy rice cereal or chow mein noodles

Combine chocolate, butterscotch, or peanut butter chips with peanut butter or Nutella.
Cook over low heat, stirring constantly until smooth.
Stir in crispy rice or chow mein noodles.
Spoon into greased or paper-lines muffin pan and press against the sides to make a nest shape, or grease your hands and form into a nest shape by hand. 
Chill until set up.
Add egg-shaped candies to your nests.

We used butterscotch chips and Nutella and they turned out really yummy, but very rich!

If you are a better about controlling your sweet tooth than I am and want to make a healthier version, here are a couple of ideas.

Veggie Nests
Cut carrots or cucumbers (or both) into thin strips.
Pile them up to make a nest.
Or
Use the bottom half of a bell pepper for the nest.
Add grapes or grape tomatoes for the eggs.

So simple.

The next recipe is a bit tricky, but can be a lot of fun, and still tasty, even if it doesn't work out and your nests fall apart.

Rosti Nests
4 medium potatoes (you can also use sweet potatoes, and/or add other grated veggies like carrots)
1 egg
1/4 cup flour
2 tablespoons cream cheese (optional, but helps nests stick together better)
salt and pepper
1 egg for each completed nest

Wash and boil or steam whole potatoes (and other veggies).
Let cool and then peel.
Grate potatoes (and other veggies).
Squeeze out excess liquid and combine with other ingredients.
Form into nest shapes and place on greased baking sheet. Place under preheated (to medium) broiler and broil for about 7 minutes. *Watch carefully for burning*
Carefully turn them over and broil for another 5 minutes.
Break an egg into the well of each rosti and broil for another 4 minutes, or until egg is set and the rosti are golden brown.

March 25, 2011

St. Patrick's Day Pudding


I made this treat for the kiddos on St. Patrick's Day. They loved it. Here's the recipe:

St. Patrick's Day Pudding

Mix:
1/2 cup sugar
1/3 cup cornstarch
dash of Salt

Stir in 3 Cups Milk. Stirring constantly, bring to boil over medium heat and cook until thickened (you may not even need to bring it to a boil). Remove from heat.

Add:
2 tablespoons butter
1 teaspoon vanilla
4 - 8 tablespoons lime juice (optional, to taste)
 A bit of green food coloring (optional)

Dish it up and garnish with a some kiwi slices if you want. The pudding usually thickens up as it cools, so keep that in mind while you're cooking it.

October 27, 2010

Pumpkin Pie Pancakes

We had a fun breakfast this morning in anticipation of Halloween this weekend. We had pancakes. But not just any pancakes... these pancakes had pumpkin in them. But they were't just any old pumpkin pancakes... they were pumpkin pie pancakes. How are they different? I don't know. I just think it's more fun to call them pumpkin pie pancakes. I also put in the same spices that are in pumpkin pie. And they have kind of a pumpkin pie-ish texture, more so than other pumpkin pancakes I have made in the past.


Once the pancakes are cooked, you can cut little Jack O'Lantern faces in them to make them Halloweeny.

Here is one that my boy made. Very spooky. He pointed out that it even has teeth.

And here's the recipe:

This recipe makes about 12 four inch pancakes.

The pancakes hold together well, so they are perfect for little hands to pick up and dip. I just served syrup on the side.

July 29, 2010

Moosewood Cookbook's Lentil Walnut Burgers

I had fun making dinner last night. My baby (who is still sick) was napping, and the two older kids were playing together, so I decided to whip out my camera and document my cooking of the meal. So here it is:

Moosewood Cookbook's Lentil-Walnut Burgers Step by Step

First, put 3/4 cup dry lentils and 1 1/2 cups water into a small saucepan and bring to a boil. Put a lid on loosely, and simmer over lower heat for about 30 minutes or until the lentils are soft and the water is gone.

And make sure you give the lentils a good rinse and look through first. Sometimes I find little pebbles in my dried beans and lentils.


Here are the other ingredients you'll need: An onion (enough to equal 1 cup, minced), about 10 mushrooms, and about 4 or 5 cloves of garlic.


Mince them all finely.

A food processor would really come in handy at this point. But if you don't have one, just do it the hard way like I did. You may just find that chopping vegetables to tiny bits with a large knife helps to relieve stress.

That sounds kind of scary. I'm really not a knife wielding psycho... promise.


Now heat about a tablespoon of oil in a pan and toss your onions in. Cook them for about 5 minutes.


In the meantime, realize that you forgot one of the ingredients - walnuts, and finely mince a 1/2 cup of them.


If you're like me, and it takes you longer than 5 minutes to mince a 1/2 cup of walnuts (again... food processor), pause to toss the rest of your vegetables into the pan.


Go back to your walnuts and keep mincing.


Give up on the walnuts and switch to stirring the vegetables. That's much easier.


Now throw in a teaspoon of dry mustard, some salt and pepper, and those dang walnuts.


While the vegetables finish cooking, dump the lentils (which are done by now, hopefully) into a bowl and add a couple tablespoons of cider vinegar. Then mash them up (need I say 'food processor' again).

Pause to mitigate the smack-down that is occurring in the playroom.


Now come back to the kitchen, notice the freshly baked bread sitting on the counter and think about a nice, quiet place where exists just you, the bread, and a jar of Nutella (or butter and honey, if you prefer).

Sidenote: Nutella takes up more space on the store shelves than peanut butter here in Germany. 

Snap out if it and go back to mashing your lentils. 


Decide that they are mashed enough already (sheesh), and mix in everything from the pan, as well as a 1/2 cup of bread crumbs or wheat germ (I used wheat germ).

That looks...um... yummy.


Cover and refrigerate for about 1 hour.

Oh, wait... I live in Germany. My fridge is tiny. And it's full.

Or not. I know from personal experience that it's okay if you don't refrigerate the mixture. However, the burgers are a little crumbly and maybe refrigerating them would make them stick together better. It also probably helps to not give up on mincing and mashing so quickly. Or to use a food processor, which would be nice to have. I wonder if the Man will read this?

After the mixture has been refrigerated (or not), form patties and either fry them in some oil or broil in the oven for 5 to 8 minutes on each side. I used the broiler method. Either way, cook them until they are crispy on the outside.


While you wait for them to cook, accidentally notice the mess you have made. 

Pretend you didn't and go back to thinking about the fresh bread.


You can melt some cheese on them during the last few minutes of cooking. I know, that's not nearly  enough cheese.

Then serve them however you want. We ate ours bun-less, on a plate with some lettuce and sliced tomatoes. I put some mustard on mine, and the man had some steak sauce on his. The kids took one bite and then wouldn't touch them with a ten-foot pole. But don't let that dissuade you. They're actually pretty tasty.

And just for your information, you can wrap the uncooked patties individually and put them in the fridge for a few days before cooking, or freeze them. Just defrost before you cook them.

Thanks for joining me on my dinner making journey of yesterday.

February 16, 2010

Key Lime - Coconut Cream Pie

Key Lime - Coconut Cream Pie

The Man loves pie. His favorite is Key Lime, and his second favorite is Coconut Cream. So for his birthday, I usually make a Key Lime Pie. This year, I decided to get creative and try combining the two pies. This was really quite risky because I seem to find a way to mess up birthday desserts, even when I'm following a simple recipe. Usually it's a cake, though. I'm a little bit better at pies, so I guess that's why I was brave enough to try it. I wasn't brave enough to make my own graham cracker crust, though. I don't think I've ever made one that would actually stick together, so I just bought one. Anyway, here is the recipe. The recipes are each for a whole pie, but cutting them in half might not give you enough of each, so I would just make the whole recipe.


Key Lime Pie

You can make this part the day before you make the coconut cream part.

1 14 oz. can Sweetened Condensed Milk
4 large Egg Yolks
1/2 cup plus 2 Tablespoons fresh or bottled Key Lime Juice

Whisk the Condensed Milk and the Yolks together until they are well combined.
Add the Juice and whisk until combined and slightly thickened.
Pour filling into a baked nine-inch crust and bake for 15 minutes.
Cool Pie completely on rack and then cover and chill for at least eight hours.


Coconut Cream Pie

1/2 cup All-Purpose Flour
3/4 cup White Sugar
1/4 teaspoon Salt
2 large Eggs
1 1/2 cups Half & Half
1 1/2 cups Coconut Milk
1 1/4 cups Sweetened Flaked Coconut
1 teaspoon Vanilla Extract

In large saucepan, whisk Flour, Sugar and Salt together.
Whisk in Eggs, Half & Half and Coconut Milk until smooth.
Heat the mixture over medium heat, whisking frequently, until the custard comes to a boil and is thick.
Boil until you can see impressions from the whisk hold their shape in the custard (about one minute after it starts to boil.
Remove from heat and stir in Vanilla Extract and Coconut.

If you are making the Coconut Cream Pie only, pour it into a baked pie shell after you take it off the stove. If you are making the Key Lime - Coconut Cream Pie, let the Coconut Cream filling cool before spooning it onto the chilled Key Lime Pie.

Let the pie chill again for at least four hours, and then top with some Sweetened Whipped Cream and dig in!

January 20, 2010

Easy Chicken Soup


Olive or Vegetable Oil
Two chicken breast halves
1 small onion or half of a large one
3 garlic cloves
2 carrots
2 medium or 4 small potatoes
4 cups chicken broth*
 Pepper**
Sage
Chop the onion, carrot, and potato (chop them small for a faster cooking time). Mince the garlic. Heat a couple tablespoons of oil in the bottom of your soup pot over medium heat. Add the chicken and brown on both sides. Add the onion and garlic and cook for a few minutes while chicken is browning. Add carrots, potato, pepper and sage. Stir it all together, making sure chicken isn’t stuck to the bottom and then and the broth. Bring to boil and simmer until chicken is cooked through and vegetables are tender. 
*I use Better Than Bouillon Organic Chicken Base. It’s cheaper than buying organic or all natural broth, and it makes really good chicken broth.
**I don’t add any salt because the chicken broth is salty enough.